" The cache management system that will help you improve the performance of your site better and better. In addition, the Magento system will auto-show a notice at the top of the workplace if it is time to refresh the cache. Just follow the Cache Management link and flush the invalid caches. "
Enabling the Full page Cache
Magento 2 by default provides the full page cache on the server to optimize the display of various pages such as category pages, product pages, and CMS pages. Enabling the full page cache, you can make response time on your store faster as well as reduce the customer’s waiting time to reload the server; otherwise, a fully-generated page can be read directly from the cache.
Let follow this tutorial to get the way to configure the full-page cache from Magento 2 configuration.
To configure the Full Page Cache in Magento 2
On the Admin panel, click Stores. In the Settings section, select Configuration.
1.Select System under Advanced in the panel on the left.
2. Open the Full Page Cache section, and continue with following: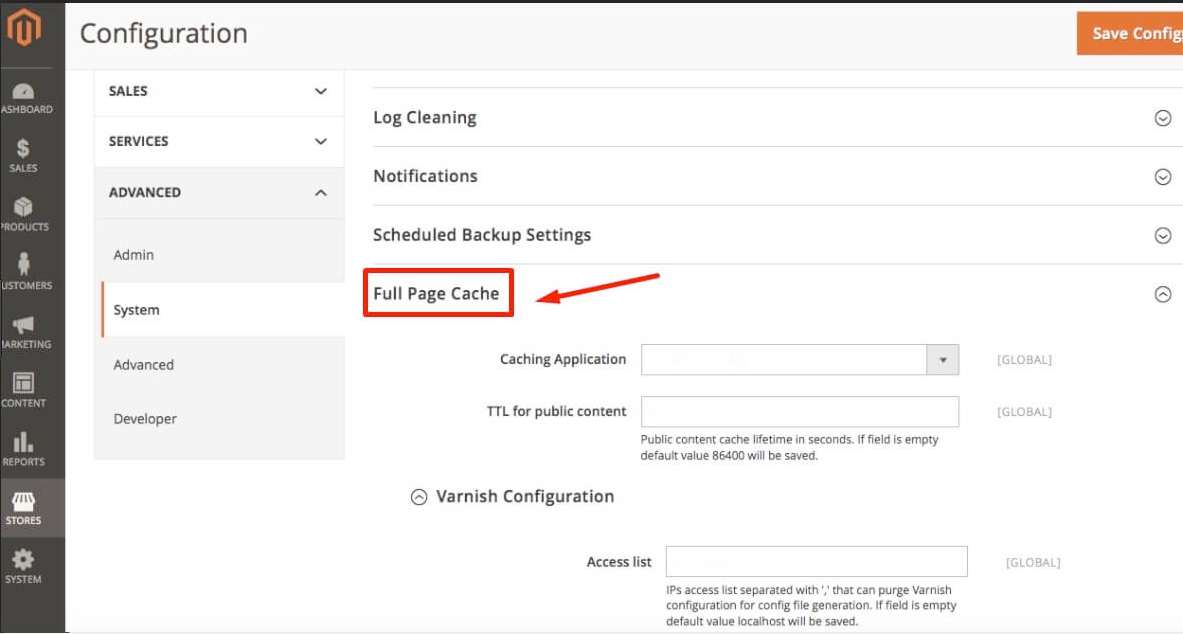
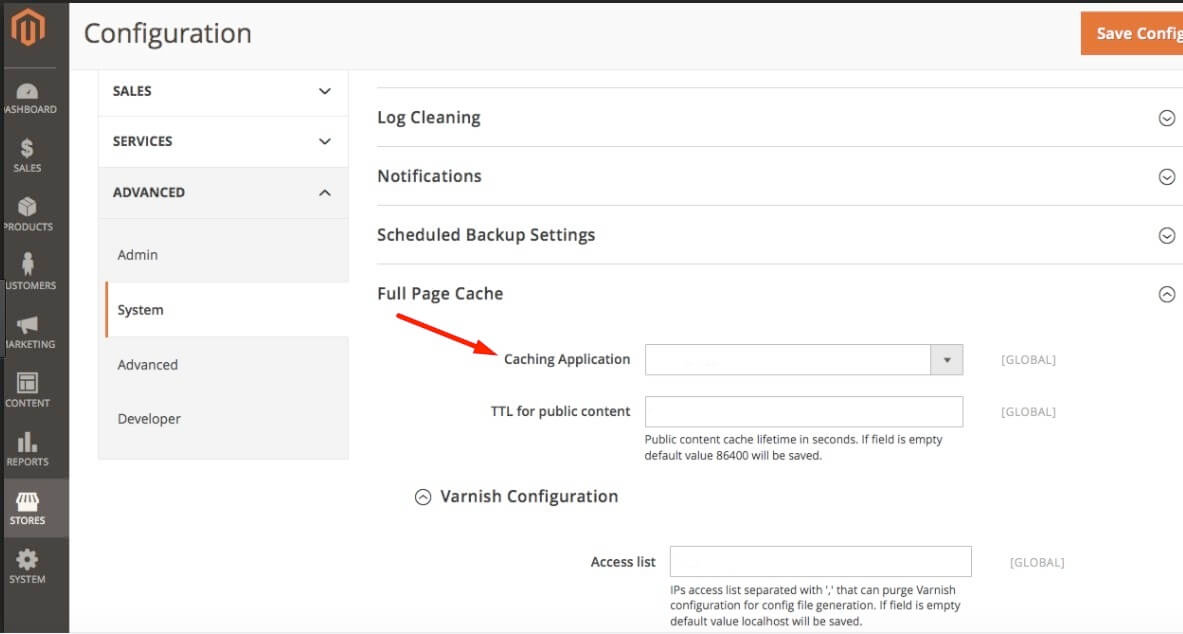
3. In the Caching Application field, select one of the following
3.1 Built-in Application
3.2 Varnish Caching
3.3 In the TTL for public content field, set the time-out for the page cache. The default value is 86400
Configure Vanish Cache
4. If you choose Varnish option in the Caching Application field, complete the Varnish Configuration section as following instruction:
5. In the Access list field, enter the IP addresses, IPs access list separated with \',\' that can purge Varnish configuration for config file generation. If field is empty default value localhost will be saved.
6. In the Backend host field, enter the IP address of the backend host that generates config files. The default value is localhost
7. In the Backend port field, identify the backend port that is used to generate config files. The default value is: 8080
8. In the Export Configuration field, click the button for the the version of Varnish that you use.
9. Export VCL for Varnish 3
10. Export VCL for Varnish 3
11. When complete, click Save Config


